
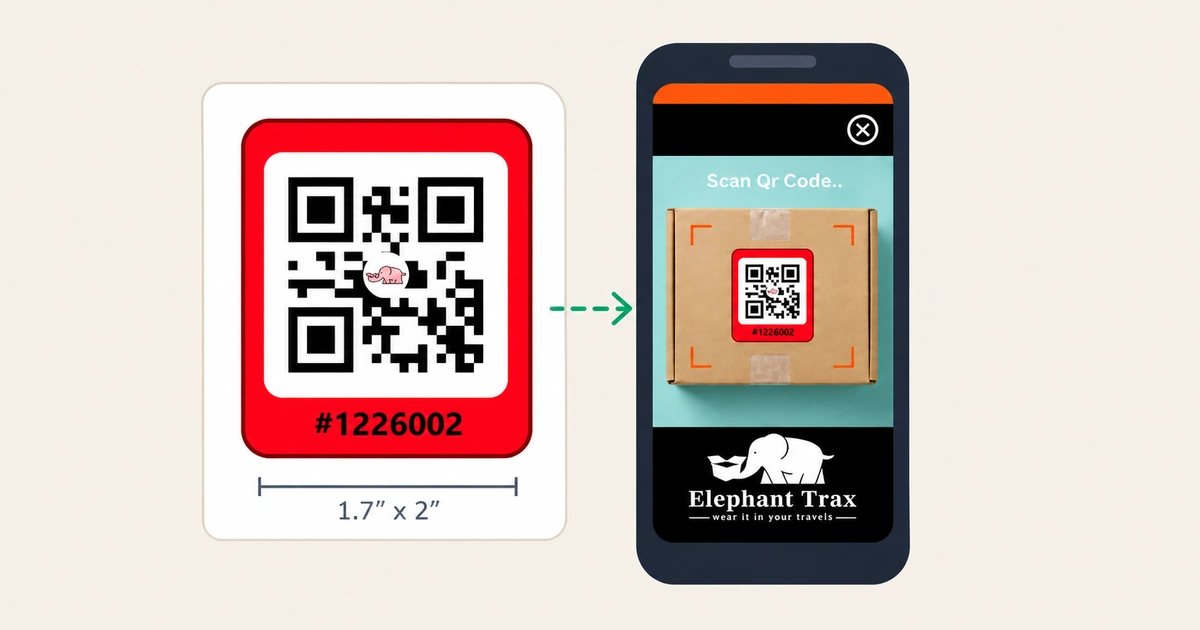
How to Print Label QR Codes That Scan Every Time
At Elephant Trax, we’ve seen how a label QR code can fail. It looks perfect on screen, then the printed version won’t scan. A customer taps their phone against a package and nothing happens. A warehouse scanner skips the label. A product page that should have earned a sale never loads.
Almost every one of these failures is preventable. A label QR that scans every time depends on a few simple print rules. Here are the ones we follow.
Why a Label QR Code Fails to Scan
A QR code is a grid of small squares called modules. A phone camera has to tell the dark modules from the light ones quickly, even in poor light and at an angle. Anything that blurs, shrinks, or lowers the contrast of those modules makes scanning harder.
The usual causes are:
- The code is printed too small
- The code has too little contrast with the background
- The edges are blurry from low print resolution
- The code is stretched, cropped, or distorted
- The code is crammed with too much data
- The label material is glossy, wrinkled, or curved
Fix these six problems and most scanning trouble goes away.
Step 1: Choose the Right Size
Size causes more failures than anything else. Bigger is easier to scan, so give the code as much of the label as the design allows. Our own labels measure 1.7 cm × 2 cm (about 0.67 × 0.8 inches), so every millimeter counts. On a label this compact, a short URL, a clean quiet zone, and sharp printing matter even more.
Scanning distance matters too. A good guideline is the 10:1 rule: the code should be about one-tenth of the distance it will be scanned from. A code on a shelf label scanned from 50 cm should be around 5 cm wide. For a compact label like our 1.7 cm × 2 cm size, plan for close-range scans of about 10 to 15 cm. Larger labels on jars or shipping boxes can carry a bigger code that scans from farther away.
When we design a QR code box for our own packaging, we reserve a generous space for the code first and build the rest of the design around it. We never squeeze it into whatever room is left.
Step 2: Keep the Quiet Zone Clear
The quiet zone is the blank margin around the QR code. Without it, a scanner can’t tell where the code ends and the design begins. The standard is a margin of at least four modules on every side.
Don’t place a border, a logo, or a background pattern inside that margin. If your QR code box sits inside a decorative frame, leave a clear white buffer between the frame and the code. It’s the easiest rule to follow and the one people skip most often.
Step 3: Use High Contrast
Scanners need a strong difference between dark and light. Black on white is the safest choice, and it’s what we recommend for every label QR we print.
If you want brand colors, keep these points in mind:
- Make the modules darker than the background, never the reverse
- Avoid red on white, since many scanners read red poorly
- Skip light gray, yellow, or pastel modules
- Avoid inverted codes (light on dark) unless you’ve tested them on many devices
A navy or dark green code on white usually scans fine. A pale blue code on cream usually doesn’t.
Step 4: Print at the Right Resolution
Low resolution turns crisp squares into fuzzy ones. Export your code as a vector file (SVG or PDF) whenever you can. Vectors stay sharp at any size. If you must use a raster image, use a PNG at 300 DPI or higher at the final print size.
Thermal label printers need extra care. Most print at 203 or 300 DPI. At 203 DPI, make each module a whole number of dots, such as 3 or 4 dots wide. Fractional scaling creates uneven edges that confuse scanners. Set the QR size in your label software rather than resizing the image afterward.
Step 5: Simplify the Data
The more data a QR code holds, the denser it gets, and dense codes need more space and a steadier scan. Use a short URL instead of a long one.
A dynamic QR code is a good fix. It encodes a short redirect link and lets you change the destination later without reprinting. For anyone producing labels at scale, that flexibility is useful. It also keeps the pattern simple and easy to read.
Choose an error correction level of M or Q. These let a code survive minor scuffs or smudges without making the pattern too crowded. Level H adds more redundancy but makes the code denser, so we only use it when a logo sits in the center.
Step 6: Match the Label Material to the Job
The surface you print on affects scanning as much as the design does.
- Glossy labels can reflect light and cause misreads or place the code away from the shine
- Curved surfaces like bottles or tubes stretch the code, so make it larger and keep it on the flattest part
- Rough or textured materials break up the edges, so avoid them for QR placement
The adhesive and the ink matter too. Smudge-resistant ink and a stable label stock keep the code readable through shipping and handling. When we source shop QR labels for our products, we test them on the actual packaging surface, not just on a sheet of paper.
Step 7: Test Before You Print the Full Run
This step saves more money than any other. Before printing hundreds of labels, print a single test sheet and check it:
- Scan with at least three phones, including an older model and both iOS and Android
- Scan in dim light and in bright light
- Scan from different distances and angles
- Scan at the real size and on the real material
- Check that the link opens the correct page
Do this every time you change the design, the size, or the printer. A label QR that works on your office laser printer may not survive a thermal printer.
A Quick Print Checklist
- As large as the label allows (ours: 1.7 cm × 2 cm)
- Quiet zone of four modules
- Dark modules on a light background
- Vector file or 300+ DPI
- Short URL, error correction M or Q
- Tested on multiple devices
Our Elephant Trax Approach
At Elephant Trax, our whole business is helping people label and track what matters to them, so we treat a scannable code as the foundation of a good label. You can find our range of shop QR labels in our Amazon store, Elephant Trax, where each product is built around these same principles: sharp print, strong contrast, and durable materials that hold up in real use.
Whether you’re labeling storage bins, product packaging, or a QR code box for inventory, the goal is always the same. A customer or team member should be able to point a phone at the code and get the right result on the first try.
Final Thoughts
Printing a label QR that scans every time isn’t complicated. Make it large enough, give it room, keep the contrast high, print it sharp, and test it on the real material. Follow these steps and your codes will work in the warehouse, on the shelf, and in your customers’ hands.
Ready to put this into practice? Browse our shop QR labels at the Elephant Trax Amazon store and start labeling with confidence.